|
Indoor Weather Station Rebuild
They say beauty is in the eye
of the beholder. Well I came across two of these cheap indoor hanging weather stations
at a yard sale and decided to remake them into something a bit more appealing.
Overall this is an exercise in having some fun with scrapheap parts.
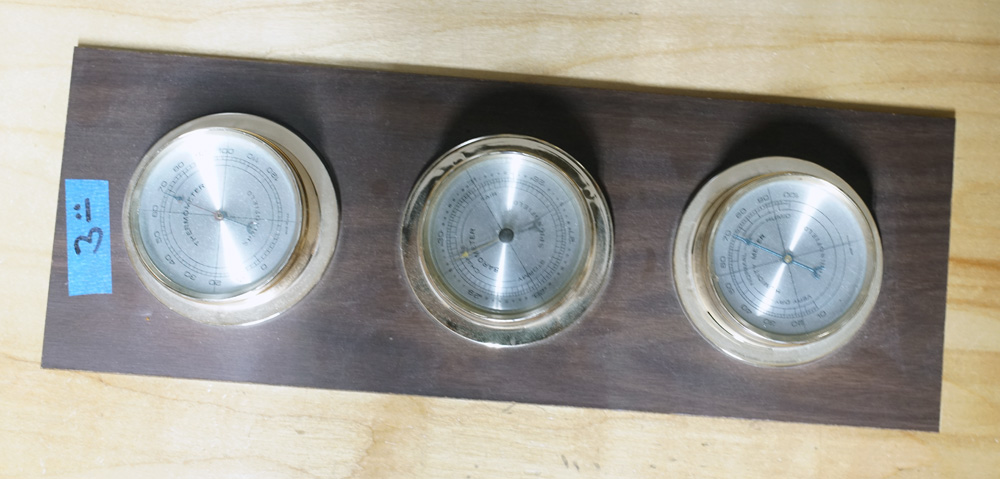
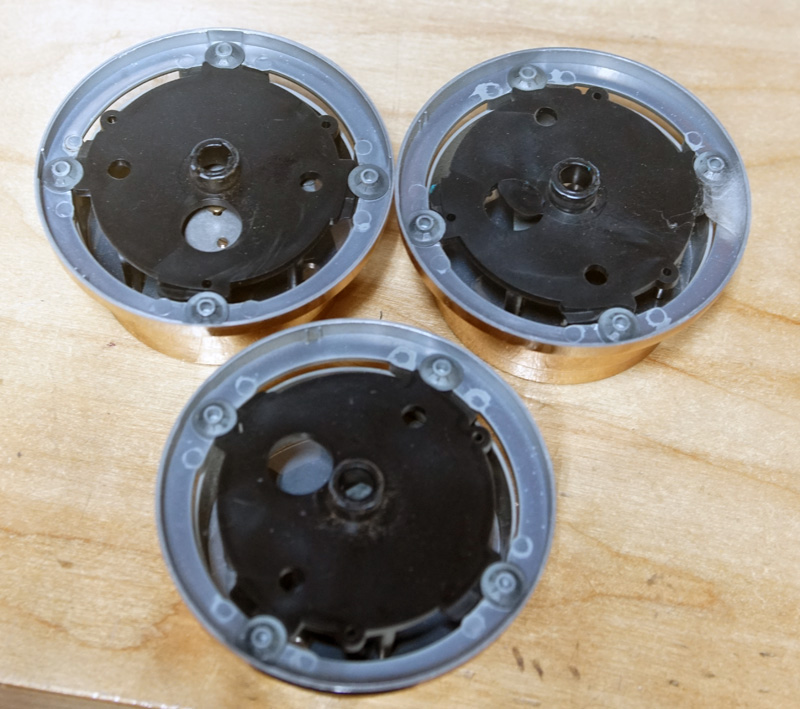
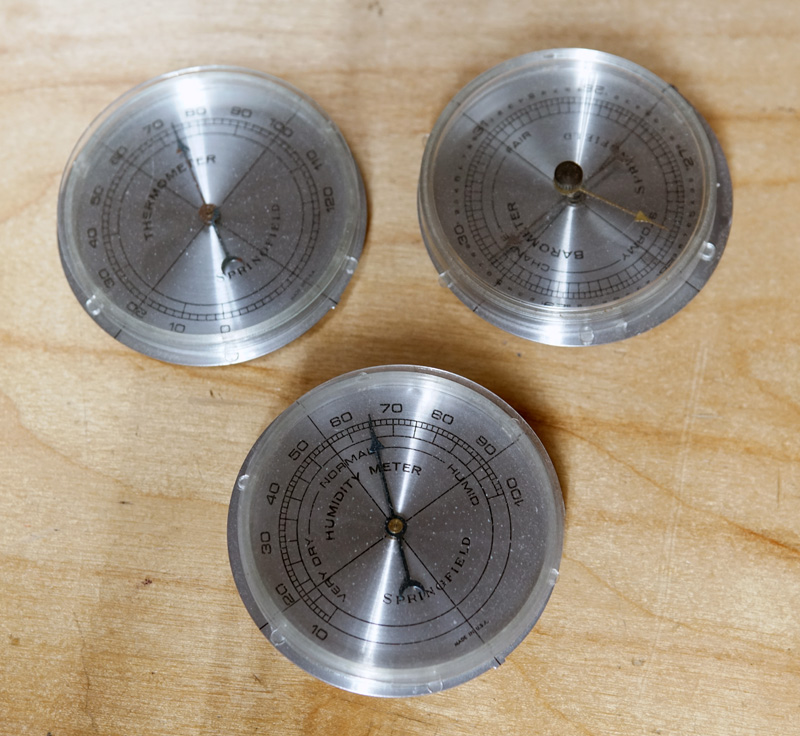
Here's the "before"
picture.
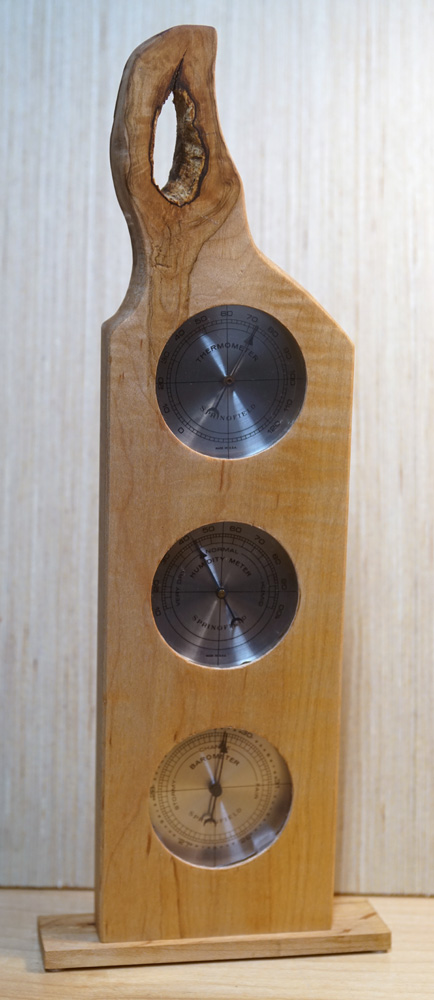
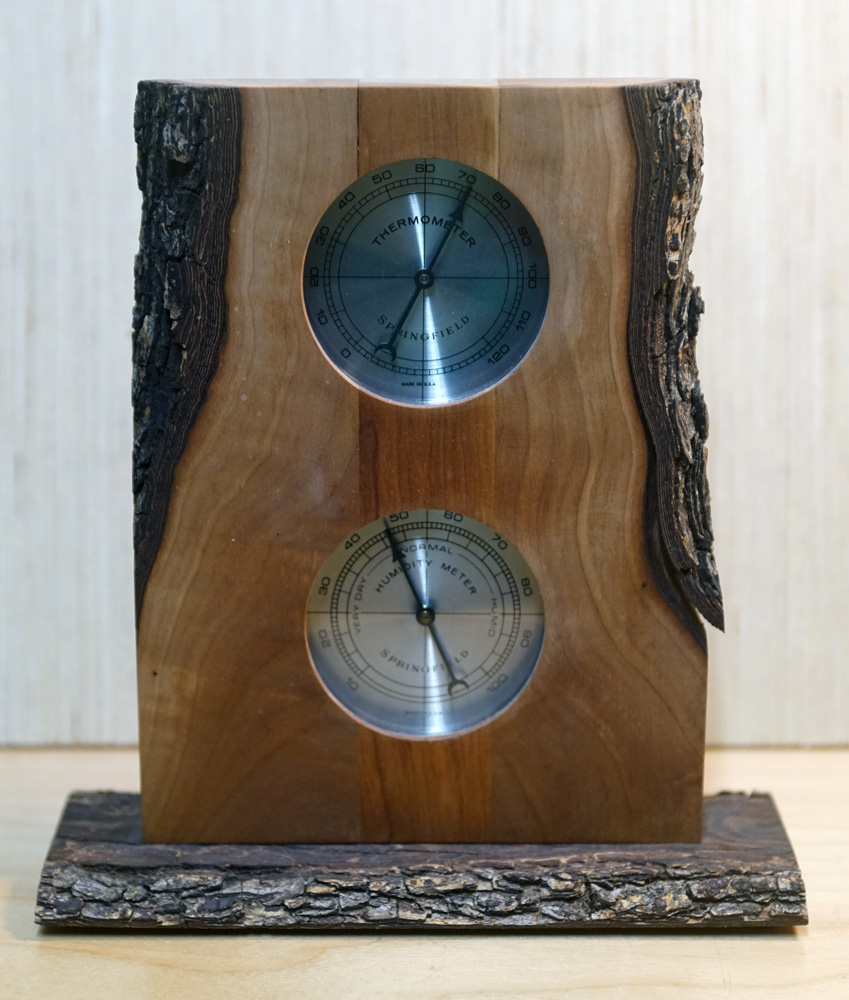
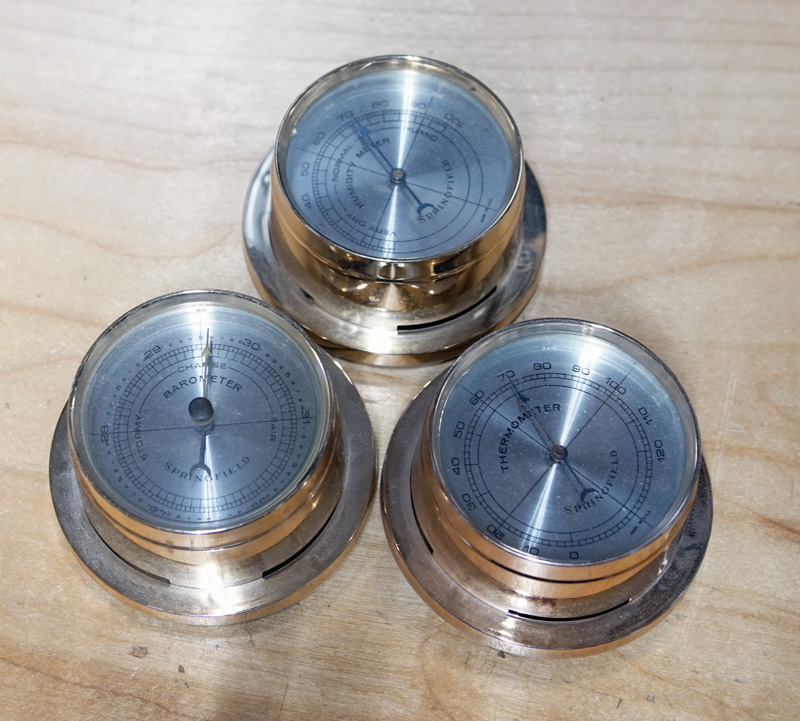
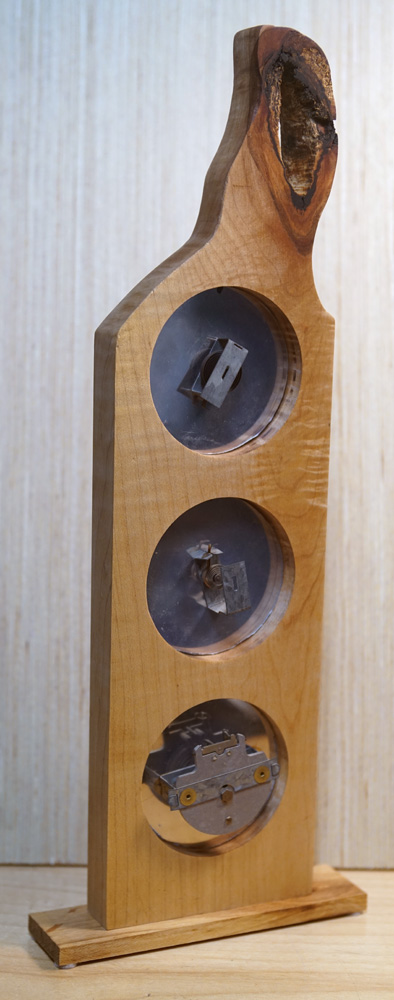
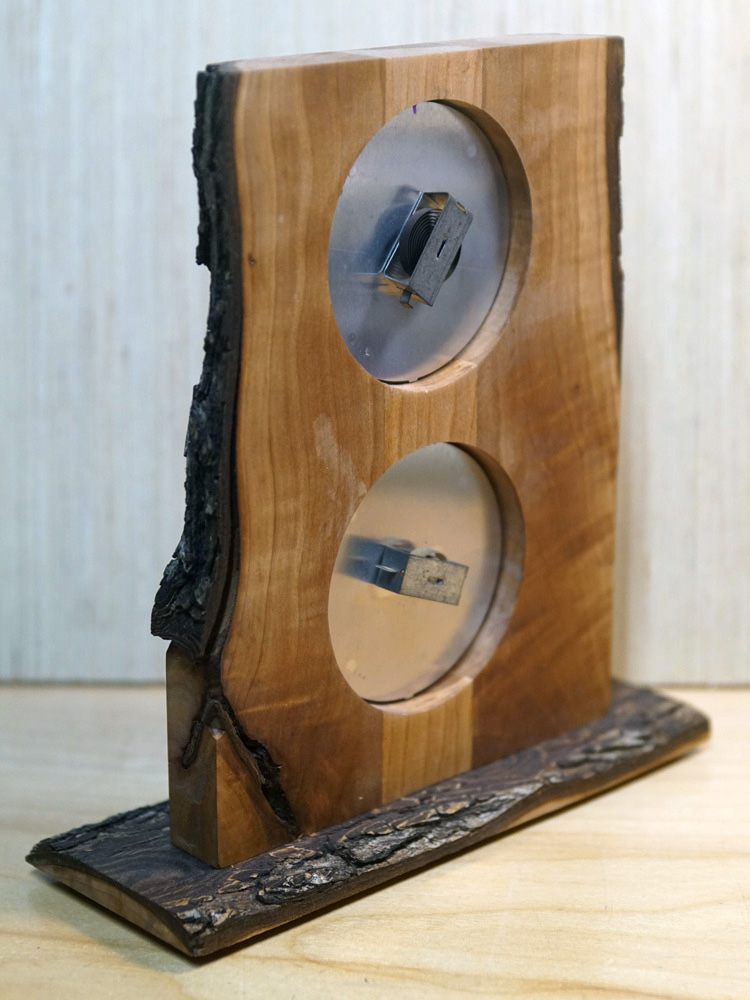
And two "after"
pictures. Note that the difference in color of the glass is purely due
to the lighting in the room.
When I called these things "cheap", I meant it. It consists of a thermometer,
a barometer and
hygrometer mounted to a faux-wood piece of hardboard. Each round instrument
casing is gold colored plastic. Two of the three instruments have real glass
windows while the third is plastic - guess which one is badly scratched?
Most similar indoor
weather stations mount the instrument proud of the panel's face - I assume
this is to give room for the instrument itself. Because the existing
devices are cheap plastic, my options were to either replace the round
body or to recess mount the instruments. I opted for the latter
to achieve a different look and to simplify the work. The end result is
a free-standing unit with an open back (the instruments have to be access
to free air). I made one unit using all three instruments. The other only
has the thermometer and hygrometer (the barometer was in bad shape so I
ditched it).
I'm not going to go into detail on the construction - basic woodworking
skills are required. And naturally proper precautions are necessary when
handling all tools.
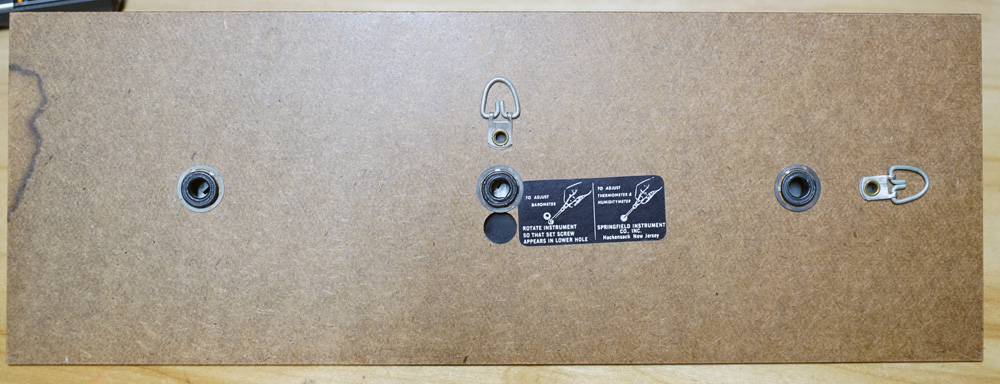
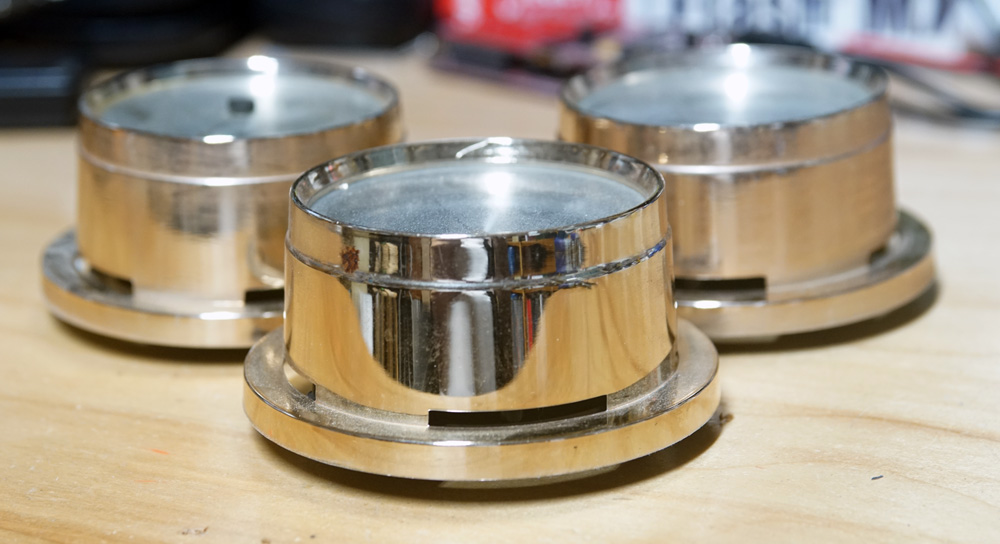
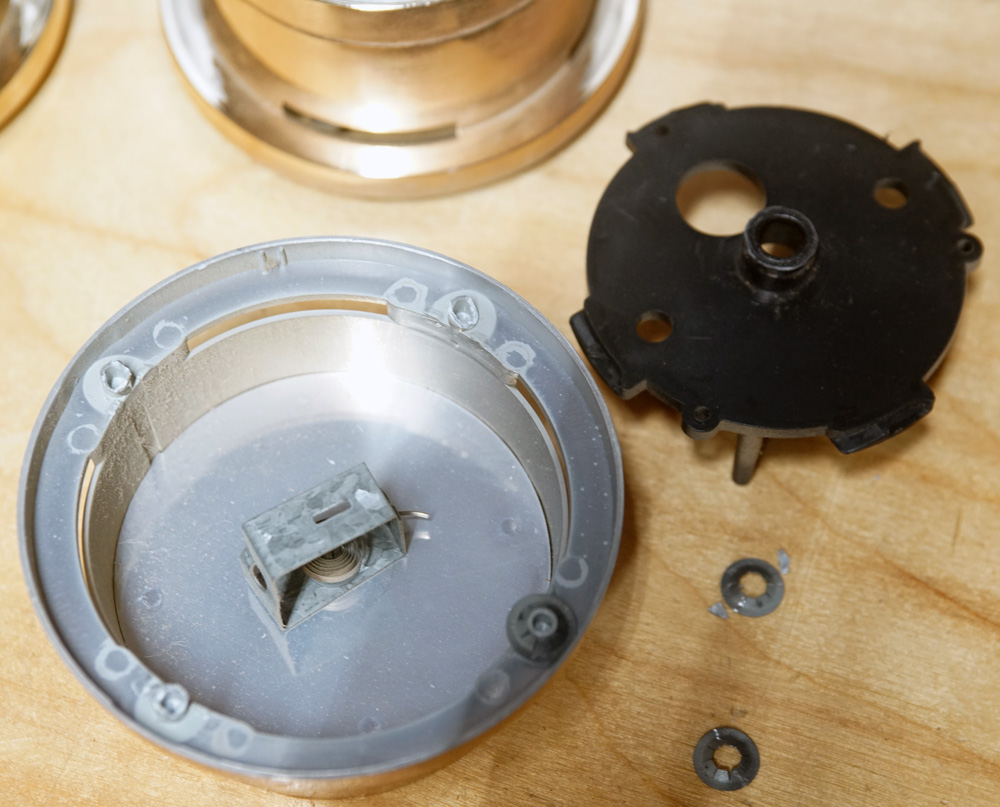
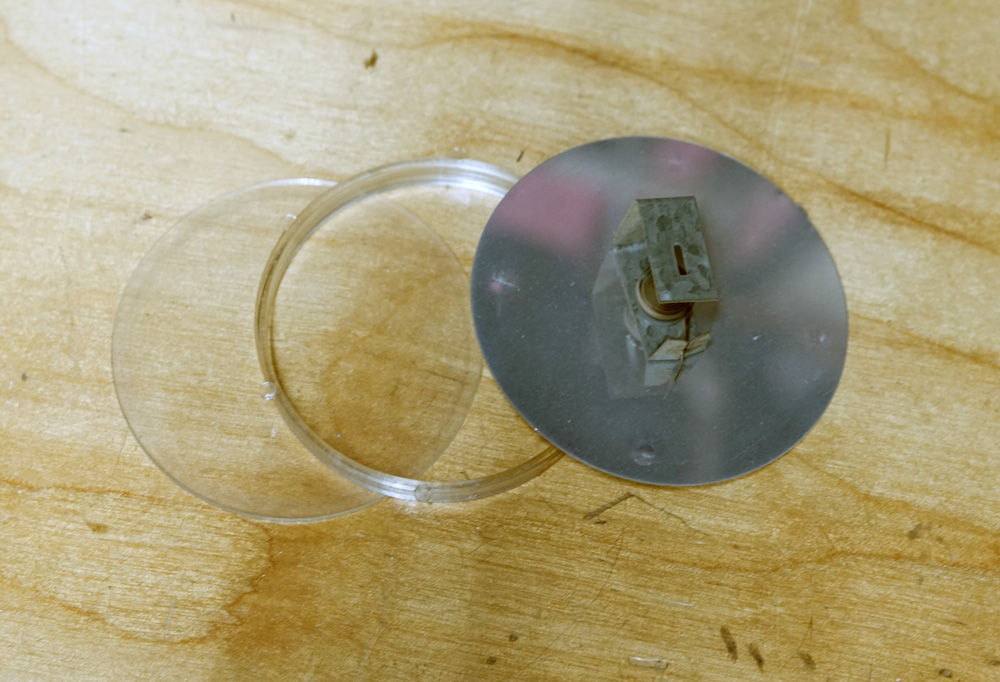
Taking the original
unit apart is pretty easy. The only parts of the original structure I
kept were the front glass window, the plastic ring standoff immediately
behind the glass, and the instrument itself. The rest went into the
trash. To rebuild the unit, I looked in my wood scrap heap for suitable
lumber. I made one unit from a piece of maple with some rot and made
the other from pear wood with a live edge sandwiched around a piece of
cherry.
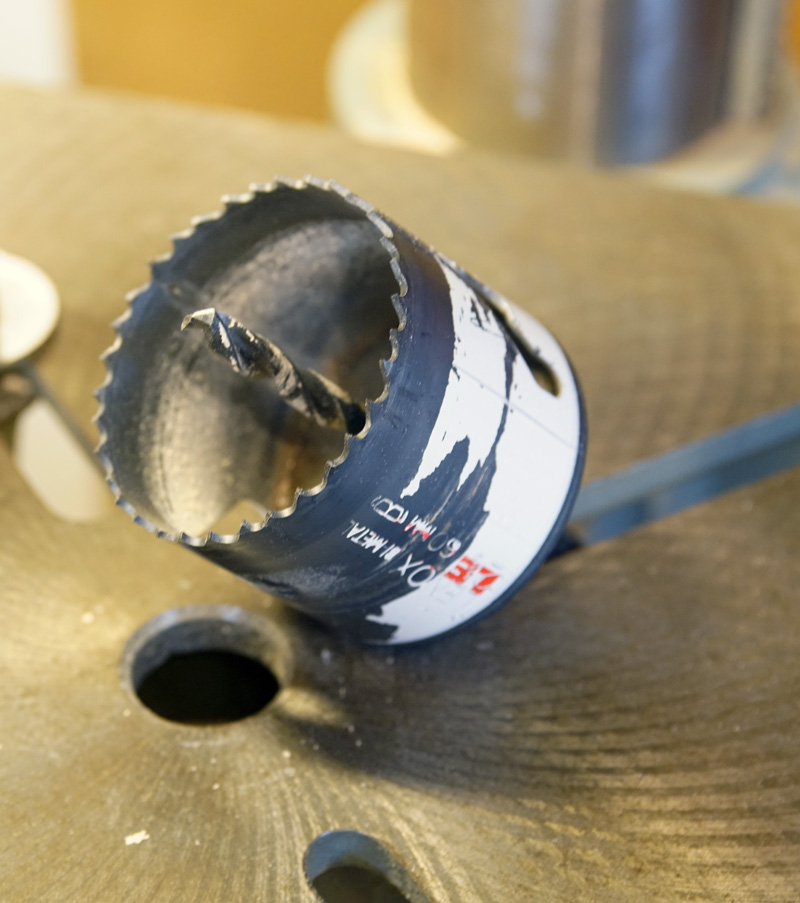
To remount the instruments,
I used an arbored hole saw mounted to a drill press to make the main
hole. I then used a rabetting bit on a router to create the body cavity
into which the glass and instrument will sit. This is pretty standard
stuff. To re-assemble the unit, I used 2-part clear epoxy. But first I
made sure the glass was as clean as since I won't have
access to the rear of the glass after the exposy sets. For the unit with
the barometer, I replaced the old plastic window with a new one made from
think acrylic. I made spacers from some 3/8 inch thick polycarbonate. The
finish on the wood is just Danish oil.

The final units are meant for surface placement (instead of the original wall
wall mount).
|