|
Queen
Size Sleigh Bed in Cherry
Having
made beds for the kids, the time came to finally make a bed
for us. While my wife has always preferred the more traditional
pencil post European beds (Queen Anne), complete with canopy,
I always liked the sleigh bed styles. Our relatively cramped
bedroom made it difficult to rationalize either. After many
weeks (more like months !) of indecision, I finally settled
on a sleigh bed; but one that uses only slightly more space
than a "standard" bed.
Sleigh
beds usually consume extra floor space behind the headboard
and in front of the footboard. To keep the bed compact, I
limited the angle and size of the head/footboards' protrusion.
This had the added benefit of simplifying construction since
I could use flat raised panels rather than curved ones. I
angled the panels to provide a sense of "tilt" to
the unit, reinforcing the idea of sleigh design.
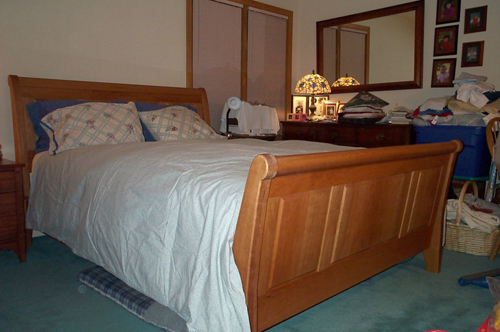
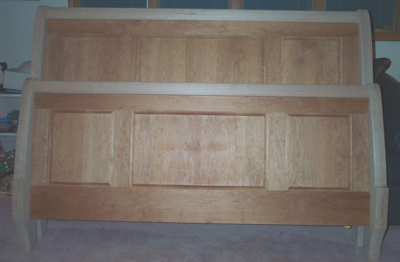
The bed is made of solid cherry. The two main bedrails
are made from 6/4 stock, while the rest of the bed is made
from 4/4 stock. The finish is hand rubbed Watco natural color
Danish Oil and wax. Four beams span the bottom to support
the mattress and boxspring. The 4/4 beams sit on cleats tied
to each rail as well as to a free-standing center support.
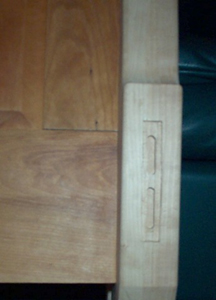
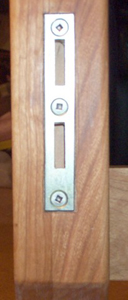
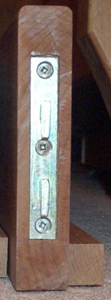
The main rails hang onto the head and footboards via standard
quick-release bed hardware.
Below are pictures taken during construction.
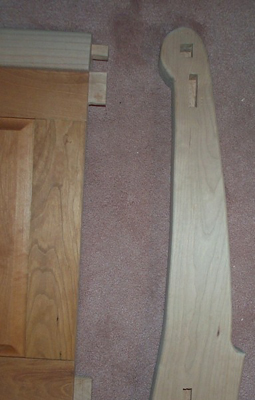
I started
by assembling the basic components that would go into this
bed. The four legs were glue up from thinner stock and rough
cut to shape. Each pair of legs were then clamped together
and sanded as a unit to make sure they would come as similar
as possible.
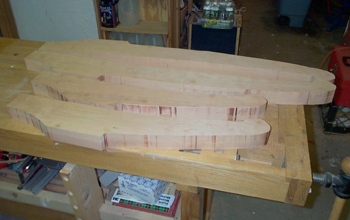
Here are the rough and sanded leg parts.
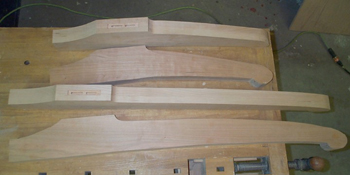
The raised
panels required a good bit of glue work. Each panel was assembled,
sanded and finished prior to assembly into its frame.
These are rough-cut parts for the frame
that hold the panels.
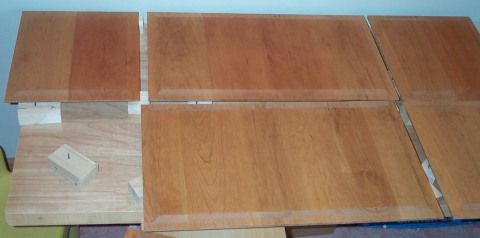
These are the pre-finished raised panel inserts.
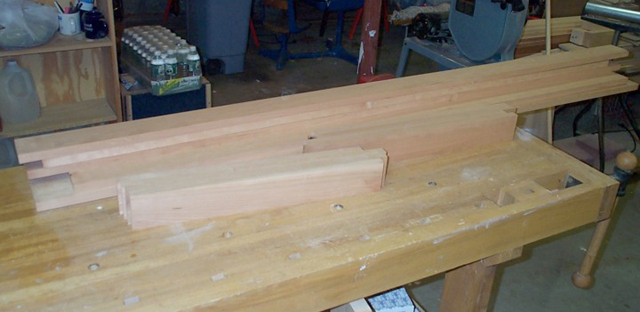
 Everything has been pre-finished
at this point.
Everything has been pre-finished
at this point.
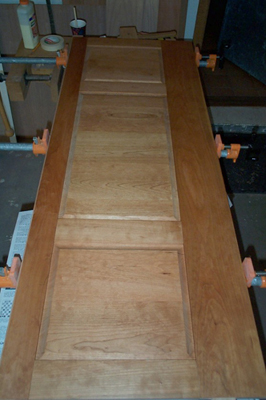
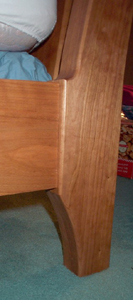
Above each
raised panel is a rounded piece that caps the unit. This piece
is rough cut on a table saw, shaped with a hand plane, and
attached to the raised panel assembly by a dado on its underside.
Three tenons extend from the head/footboard assembly into
mortises in the legs. These tenons are glued, then locked
in place with a dowel, whose hole is concealed with a cherry
plug.
|
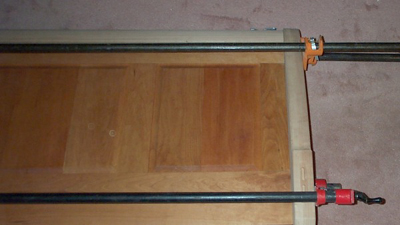
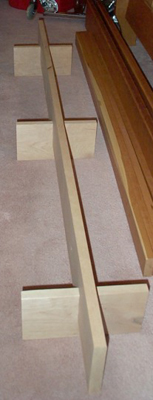
 In order
to keep the boxspring and mattress from sagging under load,
a simple center support was added. It is made from 4 pieces
of unfinished cherry, notched to form the unit shown below.
No fasteners required; comes apart if needed.
In order
to keep the boxspring and mattress from sagging under load,
a simple center support was added. It is made from 4 pieces
of unfinished cherry, notched to form the unit shown below.
No fasteners required; comes apart if needed.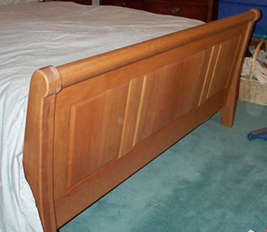
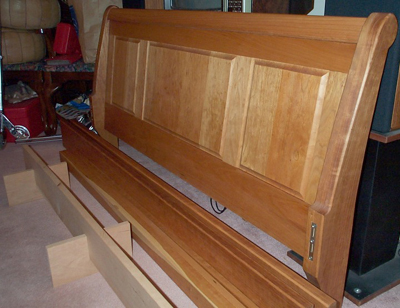
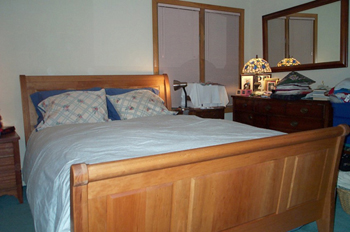 Some more pictures of the completed bed.